
When you are working under tight timelines, the idea of “making your training interactive” can feel unrealistic. You want your learners to engage, make decisions, and think; not just click “Next.”
But many authoring tools come with steep learning curves and time investment.
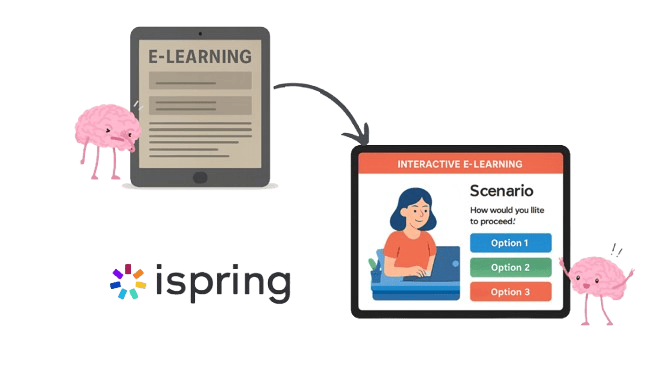
This is where iSpring Cloud and iSpring Suite work well together:
iSpring Cloud (with AI) helps you generate and organise your course content quickly.
iSpring Suite lets you turn that content into interactive eLearning: all inside PowerPoint.
Below is a step-by-step workflow you can reuse for any course topic.
Prefer to watch rather than read? Watch the above video instead.
Part 1: Draft the Lesson Content in iSpring Cloud (Using iSpringAI Assistant)
Log into iSpring Cloud.
Click Create → Page.
A blank scrollable lesson template appears.
This type of lesson is similar to lessons in Thinkific, Kajabi and Moodle where learners scroll through the content instead of clicking through slides.
2. Use AI to generate your first draft
Click the + icon where you want content to appear.
Select Ask AI.
Paste a clear prompt that includes:
The topic
The sections you want
Your tone (e.g., friendly and practical)
Any examples to include
Create a short training module titled "Customer Service Essentials: Five Golden Rules."Include:
- A friendly introduction
- Five sections, one for each rule
- For each rule: (1) clear explanation and (2) realistic example
- Tone: supportive, not lecture-like. Avoid jargon
Click Generate → then Add.
You now have a structured content draft placed directly on the page.
3. Break the content into digestible sections
Long paragraphs = cognitive overload.
Instead:
Put your cursor where you want a break.
Press Enter → spaces out content.
Use subheadings to guide attention.
This helps learners navigate without feeling overwhelmed.
4. Turn lists into interactive learning moments
Instead of one big list:
Highlight the list text
Click the Accordion or Tabs block type4
Accordion works best when you want the learner to explore items one at a time.
Tabs work best when the list items are conceptually parallel (e.g., 5 rules, 4 steps).
This encourages active reading, not scanning.
5. Add a micro-activity to reinforce understanding
Scroll to where your example or scenario appears.
Press Enter at that section.
Click the + icon → Exercise → Sequence.
Copy/Paste the scenario text into the sequence tool.
Break the scenario into steps, each describing one moment.
The learner must reorder steps correctly.
This single action turns passive reading into applied learning.
6. Quickly brand the page
Click Design (top right).
Choose Custom → Accent color.
Set this to your brand or client color.
This updates:
List markers
Buttons
Headings
Interaction highlights
One update, consistent look.
Part 2: Move Content into PowerPoint Using iSpring Suite
Now that your ideas are structured and clear, it’s time to add deeper interaction.
1. Open your PowerPoint file
You will see the iSpring Suite tab on the ribbon.
Click iSpring Suite → Quiz → Graded Quiz
2. Build your quiz with real learning value
For each question:
Paste the stem (the question).
Add 3–4 answer options, where:
One is clearly correct.
Two are plausible but slightly flawed.
One can be intentionally incorrect.
This prevents guessing.
Then, write useful feedback that teaches or reinforces the learner more about the concept, for example:
Correct feedback:
“Exactly! Acknowledging the complaint validates the customer and establishes rapport.”
Incorrect feedback:
“Not quite. Jumping into solutions too early can make the customer feel unheard. Start with acknowledgment.”
3. Randomise and score
Click Properties:
Set Passing Score (e.g., 80%).
Select Shuffle answers.
Allow 1–2 attempts.
This ensures fairness and challenge. Watch the video here to learn how to create quiz content in iSpring Cloud and create the quiz in iSpring Suite.
Part 3: Add an Interaction (Step-by-Step Format)
In PowerPoint, select iSpring Suite → Interaction → Steps
You will see:
- Intro
- Step Cards
- Summary.
Copy your process text from iSpring Cloud.
Step Title: “Stay Calm and Listen”
Step Content: Short explanation, one sentence example.
Repeat for each step.
Learners now click through steps instead of reading lists. Watch the video here to learn how to create an interaction in iSpring Suite.
Part 4: Add a Short Role Play Scenario
| Component | Meaning |
|---|---|
| Scene | What the character says |
| Replies | What the learner chooses |
| Branches | Where each choice leads |
Build it:
1. Create Scene 1
- Character = unhappy customer
- Scene = suitable to the scenario (e.g. office, store front, cafe)
- Dialogue = complaint
- One empathetic
3. Link each reply to a different Scene (click on the link button and drag):- One defensive
4. Add an ending scene that summarises the takeaway.- The empathetic reply leads to de-escalation.- The defensive reply leads to frustration and then loops back to retry.
Your learner has now practiced handling the situation, not just read about it. Watch the video here to learn how to build a role play in iSpring Suite.
Bringing it all together
You now have:
✔ A clear course outline (created in iSpring Cloud)
✔ A branded scroll course version (optional publish)
✔ A slide-based interactive version (iSpring Suite)
✔ A quiz with genuine learning checks
✔ A step-by-step walkthrough interaction
✔ A role play that tests judgment
And you did it without learning a new platform.