
If you are a new course creator, I can guarantee that you have been recommended to implement one of these methods:
Just “build your course content as you go”, or
“Don’t create anything until you have sold your course”
As a new course creator, the time you spend in creating course content can feel like it is consuming all your free time.
What’s more, it can be terrifying to think that when you finally do launch your course it won’t sell.
You want everything to be perfect before you launch so [unconsciously] you are stalling the launch and consequently not selling anything.
This feeling of overwhelm and fear drives you to seek a quicker method to launch.
During your research for a quicker launch, you find these two alluring course creation methods:
Build your course on the go as your students are studying, or
Don’t create any more until you sell - focus on your marketing first
They seem doable, right?
Before I answer this obviously leading question, I want to make one thing clear. I am not against either of these methods. In fact, I encourage my clients to adopt methods like these.
What I am concerned about is new course creators taking this advice literally.
Where literally no content is created until at least one course is sold. To then only race the clock in releasing content to said paid students.
My problem with this?
A course creator who is aggressively releasing content can jeopardise the learning journey they provide to their students.
Unless this method is implemented with a strategic approach.
In this article I provided my recommendations on a strategic approach.
Before we get there, I want to explore my above statement of how these methods could potentially jeopardise the student learning journey. Let’s look at the below example.
Jeff the Course Creator
Jeff was ready to turn his expertise into an online course. He uploaded all his existing content into Thinkific (which took hours), he designed all his landing pages (consuming even more time), and he finally hit the launch button, after what felt like months.
Days went by without any sales nor sign-ups.
He was devastated (as anyone would be), but he was not defeated.
As online courses were new territory for Jeff, he decided to do some research. He heard that it is best to sell first and then create content so you don’t waste all your valuable time.
This is exactly what Jeff decided to do.
He invested all his time in creating high converting landing pages, learning how to run effective Facebook Ads, creating marketing campaigns that people couldn’t resist, and he started selling his course.
He had put all the focus into the marketing side of his course.
Don’t get me wrong, these are great skills that Jeff acquired, but let’s look at the consequences of only focusing on the launch of your course [and not the design or creation].
Jeff sells 25 courses. He is ecstatic!
Then he remembers that he has not created any course material! With 25 people waiting for a course to start that they have paid for, Jeff’s heart starts to race.
He is not going to get knocked down again!
He starts to aggressively create course content utilising what already exists.
As he is racing the clock to get content out to paid students, he does not have the time to create a structured plan of what the students will learn to do throughout the course.
Nor does he have the capacity to invest time in clearly understanding what his new students need - they have already paid for the course, now he needs to deliver, right?
Undoubtedly, Jeff starts to feel overwhelmed as he realises the course is becoming an unstructured, jumbled mess. It is becoming a course that has no coherency nor a clear student learning journey.
Jeff starts to get negative feedback, the content is not meeting students expectations. They are feeling confused as they jump around different topics, not receiving adequate support.
The learning journey has been jeopardised as Jeff focused only on the launch phase of course creation. He did not invest the time in effectively planning a course nor learning what his students needed.
I want to reiterate, the “build as you go” or “build after you sell” methods can be very effective.
But don’t take them literally.
Rather, implement a strategic course creation plan that cohesively integrates designing, creating and launching online courses.
How should you approach course creation strategically?
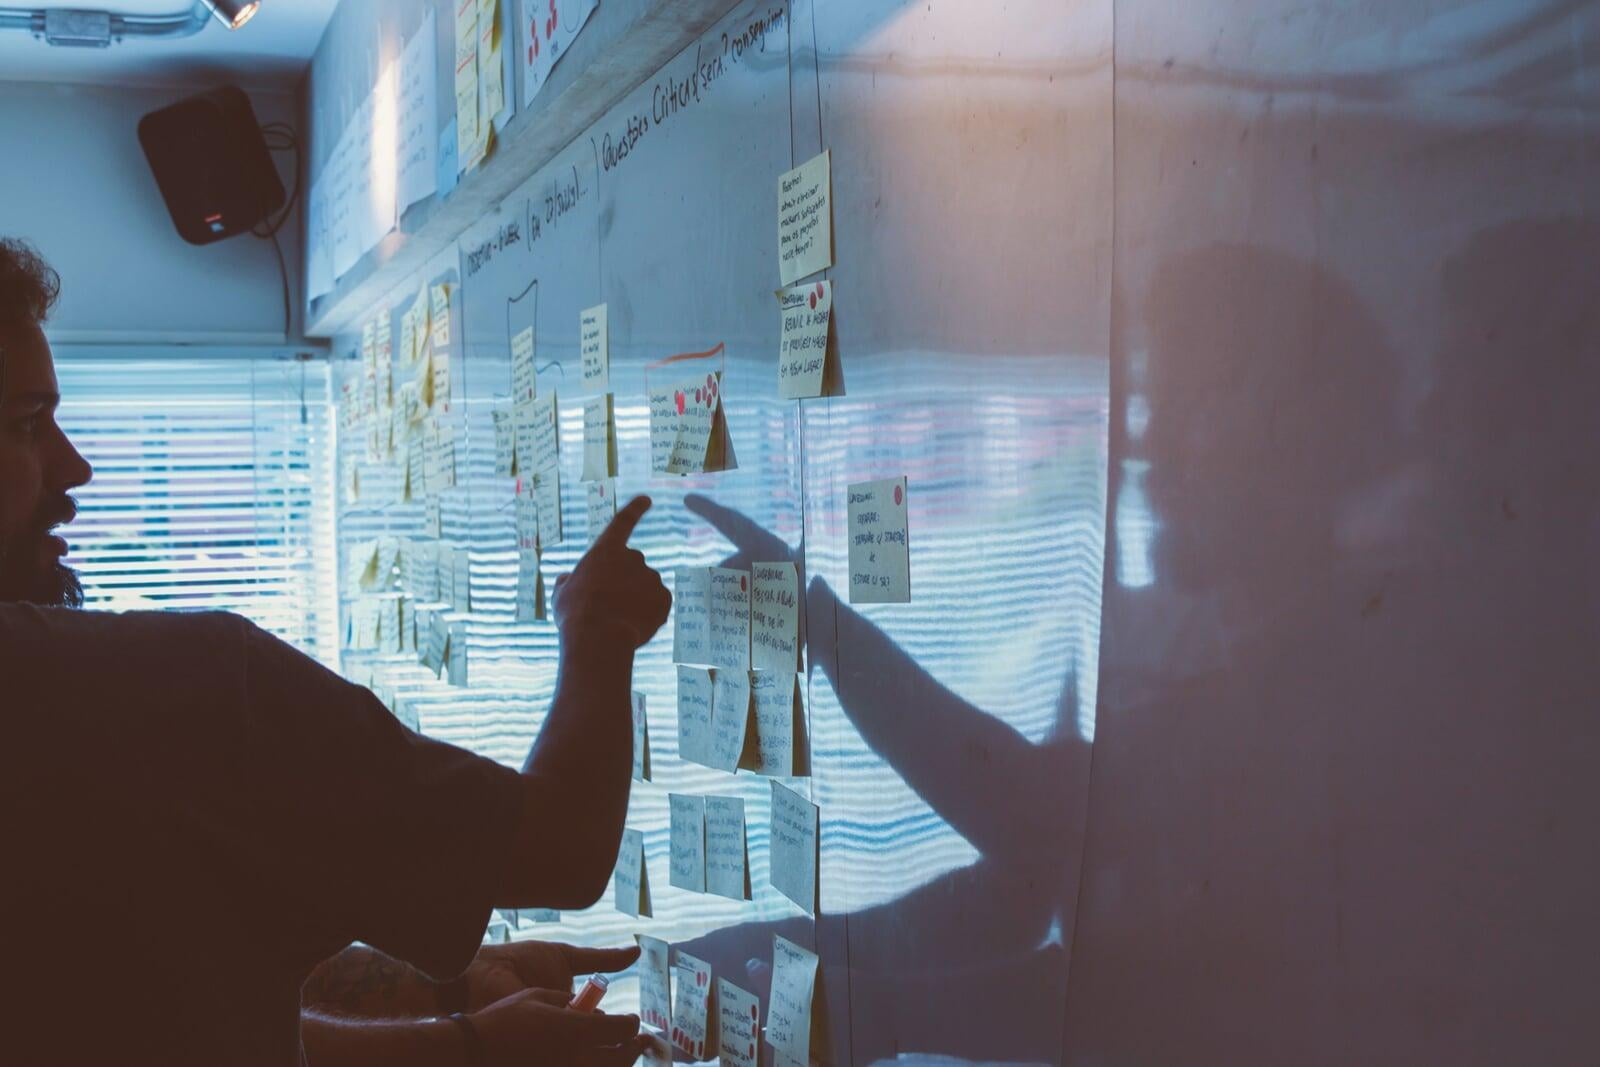
Photo by Startaê Team on Unsplash
Step 1: Create a Structured Course Plan
If you have a list of the modules you want to include in your course, this is a great start, but it is not sufficient for this strategy. This is only an outline.
A structured course plan is your guide to what content you will release, when you will release it, and what the content will include.
The course plan maps out a learning journey, so you can pave a path to success for your students.
This is where you clearly map out what your students will learn to do.
Visualising the learning journey through this mapping process encourages a scaffolded learning process, where each content type clearly follows its predecessor, building on top of previous competencies.
Your course plan should include (at least) the 3 below points. Watch this video to learn more.
1 overall course goal
3 - 5 learning outcomes*
Competencies needed to achieve the learning outcomes**
*Learning Outcomes:
Think of the learning outcomes as the steps your students will take to be able to reach the overall goal. This is where you take them from A to B.
**Competencies:
Consider the competencies as what your students need to learn to do to achieve the outcomes. This may be conceptually understanding a topic to practicing a new skill until it is second nature (e.g. an ability).
To be able to clearly write outcomes and competencies, you need to understand your students and how you can effectively support them in their journey from A to B!
How do you understand your students?
Step 2: Talk to Your Students
What have you implemented so far to help you solve your [insert issue]?
What do you feel you are struggling with?
How comfortable do you feel about [insert issue] (this ascertains their level of expertise - e.g. novice or expert
What does solving [insert problem] mean to you?
Why do you want to achieve [insert problem]?
If there were no barriers, what would [insert problem] look like for you?
To understand how to take your students on a journey from Point A to Point B, you need to understand what both these points mean to your students.
Consider Point A to be where your students currently are. For example, what is the starting point for them on their journey? This does not necessarily mean at the beginning. Ask them questions such as:
The same goes for Point B. Understand what the goal or final outcome is for your students. It is easy to say “successful” or “transformed”, but what do these actually mean?
Success to you may mean something completely different to me. This is why it is important to ask questions such as:
An understanding of where your students currently are (Point A) and what they want to achieve (Point B), will help you break down your course goal into learning outcomes and competencies that are specific to your clients.
If you don’t understand their current experience you risk creating a journey too basic or too advanced.
Step 3: Map Course Content Ideas to your Course Plan
Now that you have a structured plan aligned to your student’s needs, you can start to consider different types of lessons to support your student reach their goal and map these back to your course plan.

Photo by Alvaro Reyes on Unsplash
List content types
First, write out a list of content types that will support your students in attaining the competencies in your course plan.
For example, your course plan may have a competency that requires a student to learn a series of steps that needs repetitive practice. Such as sewing a new stitch, preparing a PowerPoint presentation, or creating transitions in Canva.
To demonstrate these steps to your students, you identify that a video demonstration (live or recorded) is the best delivery method.
So, add ‘video demonstration’ to your list of content types.
Build a learning journey
Step 4: Run a Beta Test
How should you run a beta test?
Advertise to your audience that you are looking for beta testers. Remember in Step 2 when you spoke to your ideal students, they are your perspectives, invite them to beta test.
You may wish to do this at a low cost or for free - this is completely up to you.
Read this article on how you can first run a free short course and then offer a paid beta course.
What do you want in return?
A beta test is not just done for fun! There is something you want to get out of it too.
This is an opportunity for you to collect feedback and modify your course; also a great way to collect testimonials when you launch your course.
Here are a few different examples to collect feedback:
- Short self-reflection surveys throughout the course (not just at the end)
- Live Q&A sessions (people are questions because the course didn’t answer them)
- Simple thumbs up or down responses on videos
- Interviews (ask them directly for feedback)
- Final feedback form (this is where you ask for the testimonial)
How to encourage feedback?
Be very explicit about this from the beginning that your students are joining a Beta Test.
Did you know: involving your students in the course creation process is a motivator to learn?
Don’t be afraid to say “this is a beta test” - it achieves more than you may think.
Read more here in this great article from the eLearning Industry on Adult Learning Theories.
Step 5: Build your Content as you Go (aka Do it on the go)
Finally! We can start the “Do it on the go” course creation!
Now that you have a course plan that is aligned with your student’s needs, and you have students signed up for a beta test, you are ready to start to drip content.
You won’t need to aggressively release content nor will you jeopardize the learning journey.
Follow your structured course plan that clearly outlines what you will deliver and when.
Let's Wrap It Up
The “Do it on the go” method is not just about making a sale and then recording some content.
Four important steps need to be completed before you can start creating content. This is how you can preserve the overall learning journey of your students and support them on the path to success.
When your students know that they're on this journey with you of designing and developing the first version of your course, it is truly an amazing experience (for both parties).
So it is not about which method should you choose, but rather understanding the repercussions to the student learning journey if no strategy is implemented.
Ready to create your online course?
I guide my clients through designing, creating and launching their online courses to help them reduce the stress of course creation overwhelm!